
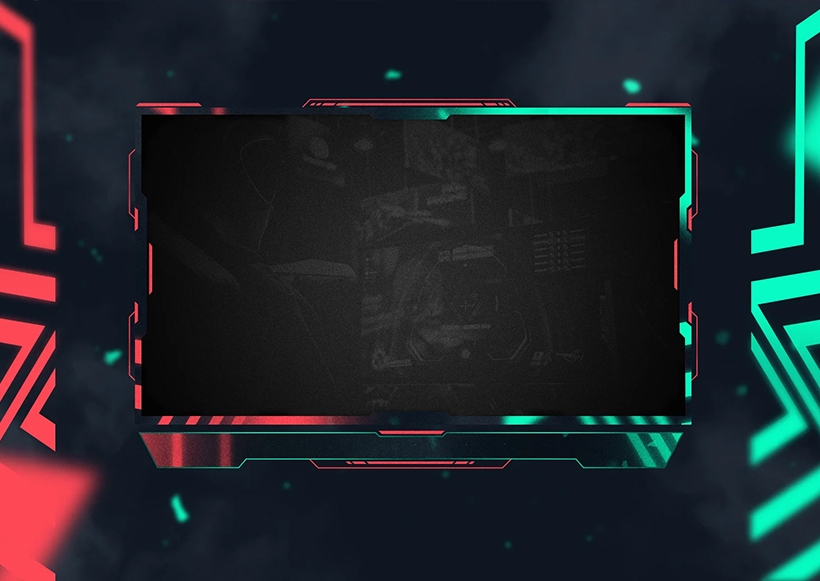
Streamlabs Desktop uses the same source-based system as OBS under the hood, with a friendlier interface. Here's how to drop a custom overlay into your scene.
In the Editor tab, select the scene you're adding the overlay to, or click Create new to make one specifically for your branded layout.
Click the + icon in the Sources box. Choose Image for a static PNG overlay, or Media Source for an animated .gif/.webm. Name it "Overlay" and select your file when prompted.
Right-click the source and open Edit Transform. Choose Fit to screen for a full-canvas overlay, or manually drag the resize handles for smaller pieces like a webcam frame or a corner logo.
Sources higher in the list appear on top. Your overlay usually goes above Game Capture and Webcam, but below Alert Box and Chat Box widgets so notifications and chat still show up on top of it.
Click Preview Stream to see exactly what your viewers will see, adjust anything that looks off, then click Go Live.
If you use different overlays for different content (Just Chatting vs. a specific game), save each as its own Scene. Switching scenes with hotkeys is much faster than swapping sources mid-stream.
Want a full matching kit — starting screen, webcam frame, panels and alerts? Check the Stream Mask store. Go to the store