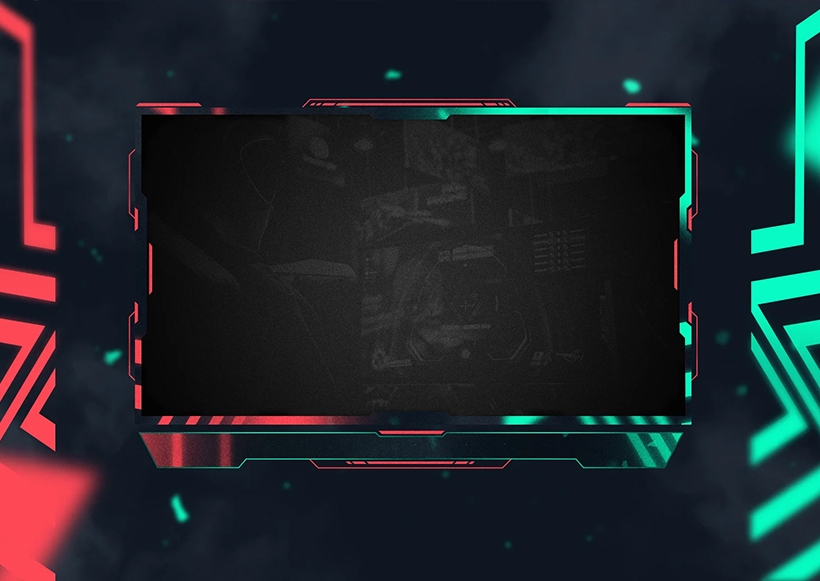
A branded facecam frame is one of the fastest ways to make a stream look professional. Here's the full setup, from webcam to finished frame.
Make sure your webcam is connected and working. In your scene, click the + icon in Sources and select Video Capture Device. Name it "Facecam" and click Add Source, then pick your webcam from the dropdown in Properties.
Drag and resize the webcam source to roughly where it'll sit — you'll fine-tune this once the frame is on top.
Click + again, choose Image, and select your facecam frame/border graphic. Resize it to match the cutout in the frame with your actual webcam feed underneath — this is the part worth taking your time on, since a mismatched crop is the most common mistake.
Click + and choose Text (GDI+). Name it "Text Overlay" and type what you want displayed — your name, socials, or a "Now Playing" label. Adjust font, size, color and position in Properties to match your brand.
Select the webcam, frame and text sources together, right-click and choose Group Selected Items. This lets you move the whole facecam setup as one unit without breaking the alignment. Lock the group once you're happy with it.
Match your webcam's actual aspect ratio (usually 16:9) to the frame's cutout before resizing — stretching a 4:3 feed into a 16:9 hole will visibly distort your face.
Browse ready-made facecam frames that match a full overlay kit — Stream Mask store. Go to the store