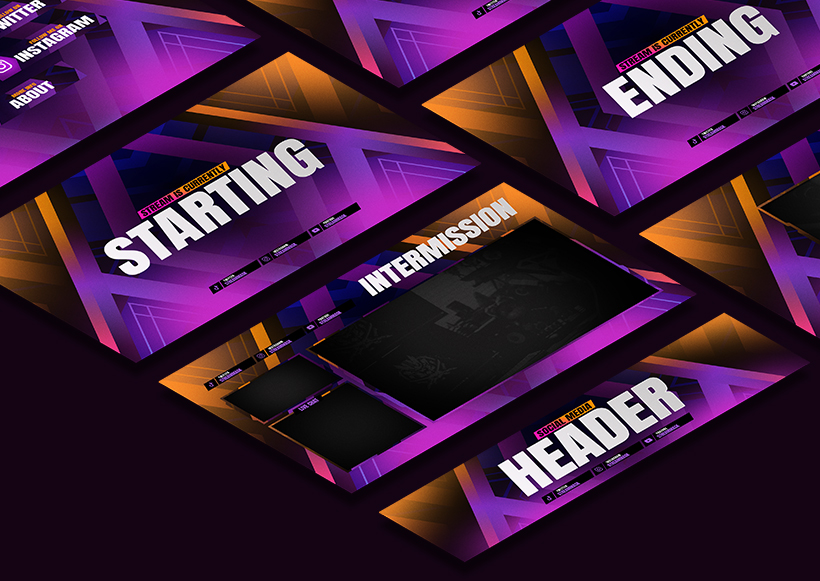
Putting your chat on stream makes it feel alive even when the camera's just on gameplay. Here's how to set it up inside a custom frame instead of Streamlabs' bare default style.
In the Streamlabs dashboard, go to Widgets > Chat Box. Pick a theme close to your brand colors, adjust font and message spacing, then copy the Widget URL at the top of the page.
In your scene, click + in Sources and choose Browser Source. Paste the Widget URL, and set the width/height to match the chat panel area of your overlay design (for example, 400x600).
Click + again and add an Image source using your chat box frame/border graphic. Position it so the Browser Source sits neatly inside the frame's window.
Select both the Browser Source and the frame image, right-click and choose Group Selected Items so you can move or resize the whole chat box as a single unit. Lock the group once it's placed.
Open your channel's chat in a browser and type a message — it should appear inside your frame within a second or two. If nothing shows up, double-check the Widget URL was copied in full.
In the Chat Box widget settings, turn on Hide Commands and set a reasonable message limit (5-8 messages) so bot spam and long scrollback don't clutter your layout.
Pick up a chat box frame that matches your full overlay kit — Stream Mask store. Go to the store